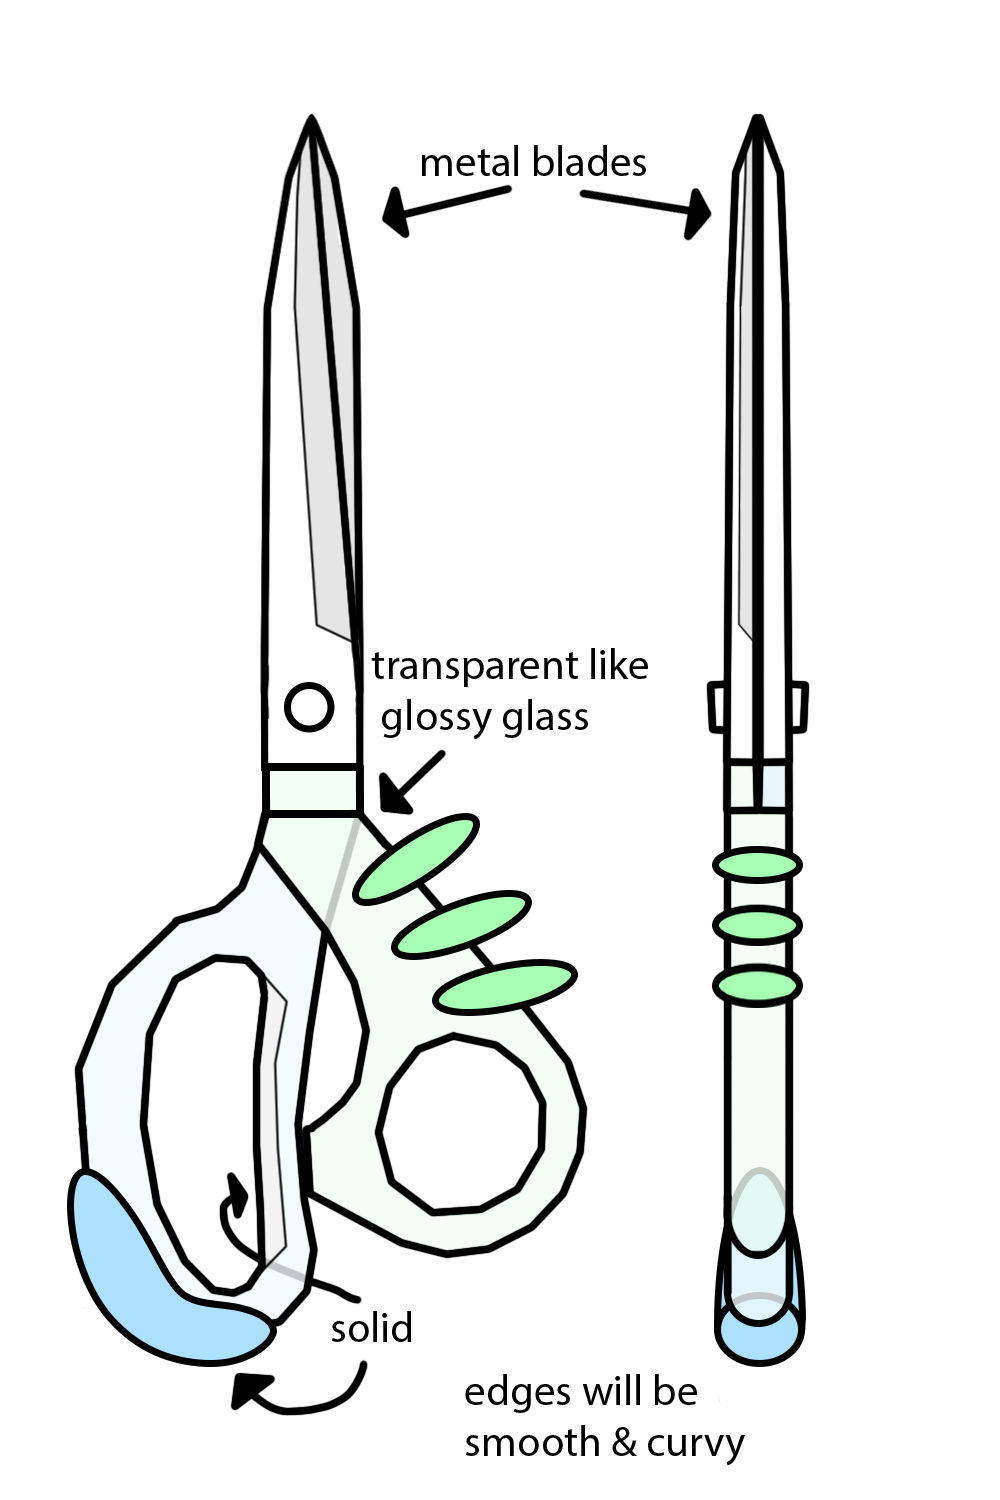
Concept art
For this concept art I used a feature of photoshop where you can click at two points on the canvas and make a straight line to each spot. I did this because I’m not good at drawing and it makes the process easier for me to manage. Another feature I used was the ellipse tool to create circles and loops for the accents and the pivot point. Colours were important as the Frutiger Aero style is known for its blue and green with white as a supporting colour.
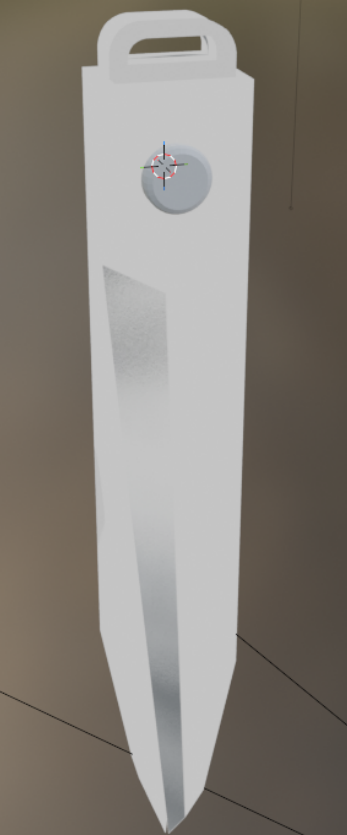
The Blades
I started the 3D model with the blades. I created it using a subdivided cube to form the shape and the knife tool to cut the blade shape into it, then I duplicated the whole thing and rotated it to make a second blade. Alongside the blades there's a cylinder with rounded edges within the two blades to create a pivot point for the scissors to open. There's also an arc made with extrudes and bevels at the top to act as a way for the blades to be held by the grips.

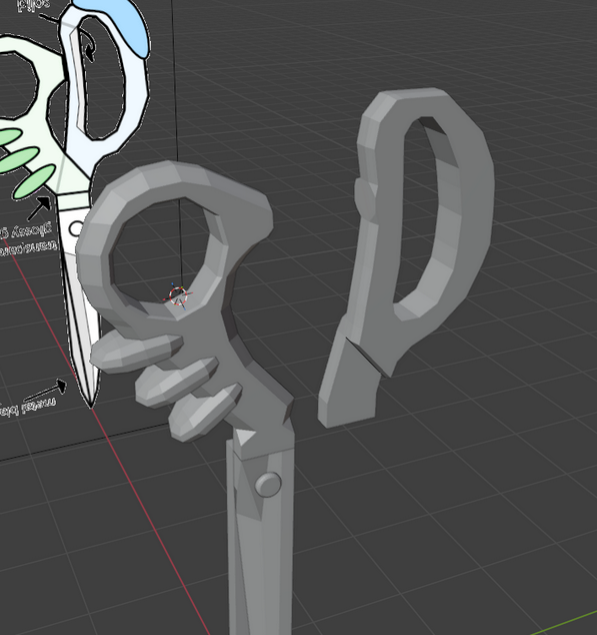
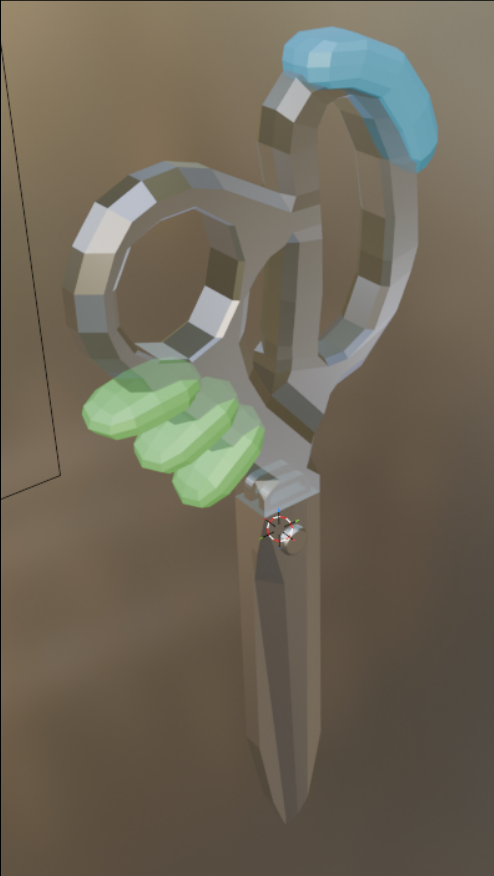
Green Grip
Using the same method as the blades, I extruded and subdivided a cube to form the shape I wanted alongside 3 smaller subdivided cubes as accents to make the model more interesting. After adding the extra stuff I used bevels to make the corners be more rounded and more “scissor shaped”.
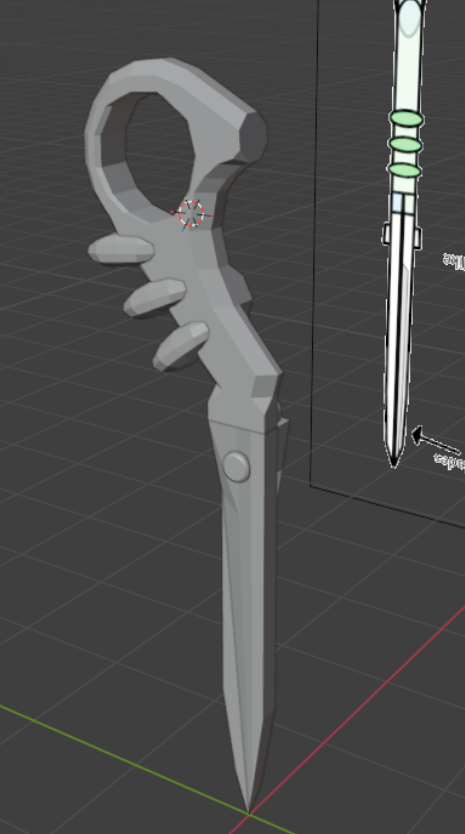
Blue Grip 1
I originally tried doing what I did with the other grip however for some reason the model just didn’t look right. The beveling wasn’t working and extruding was off axis by a few millimetres which caused the grip to look wonky, so I decided to remake the grip in another, more manual way for better control and looks than using the tools given.
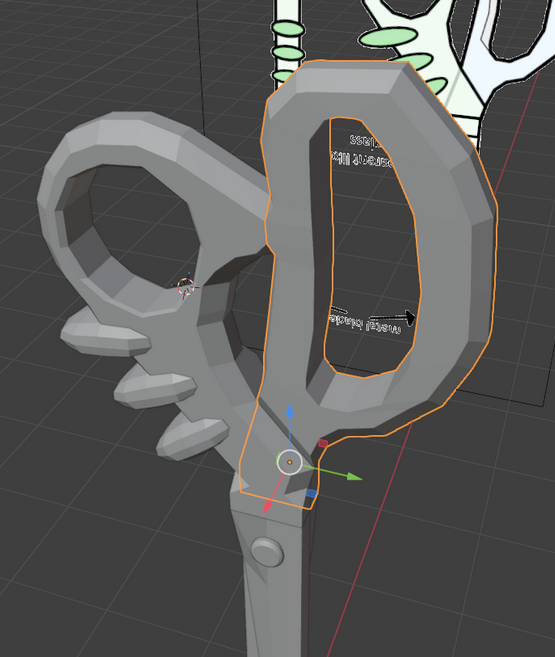
Blue Grip 2
After remaking the blue side instead of using bevels for the edges and middle section I decided to try and manually adjust the edges to get the rounded look I desired. Turned out better than I thought it would and I'm glad it did.
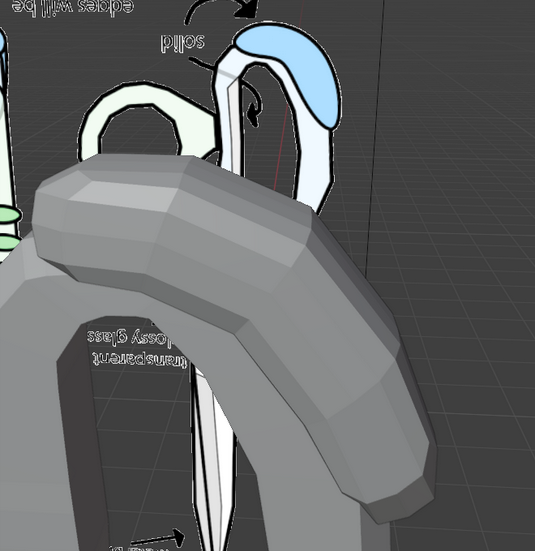
Blue Accent
Using a cube I warped it in a way to take the general shape I wanted, then I added a subdivision modifier to get the rounded look I was going for in the concept art.
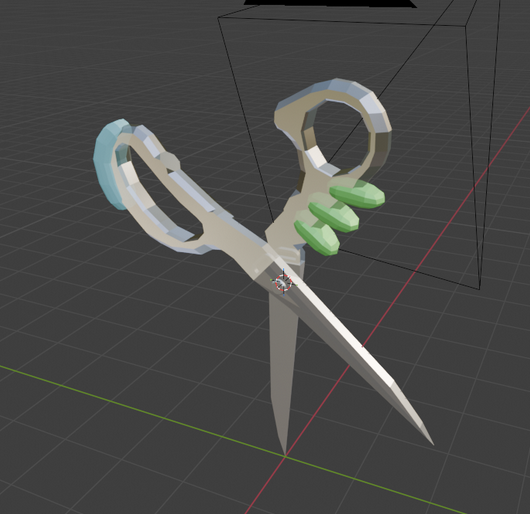
Full Model 1
The model is complete with all the details that I wanted and I think this model fits perfectly with what I had envisioned and I'm happy with how it turned out.
Texturing 1
I made a texture for the blades using photoshop, however I didn’t like how it looked with the lighting and how I would need to either have 1 massive texture with all the model’s parts or have about 6 or 7 different texture sheets to manage and I didn’t want to deal with that.
Texturing 2
I decided to make my textures using the “Shader” tab in blender as it makes making textures easier than manually making one for every part and it was fun learning how to add shading or add transparency to some of the parts.
Full Model 2
Everything with the model is now done. All the models and textures were made and up to my standards.
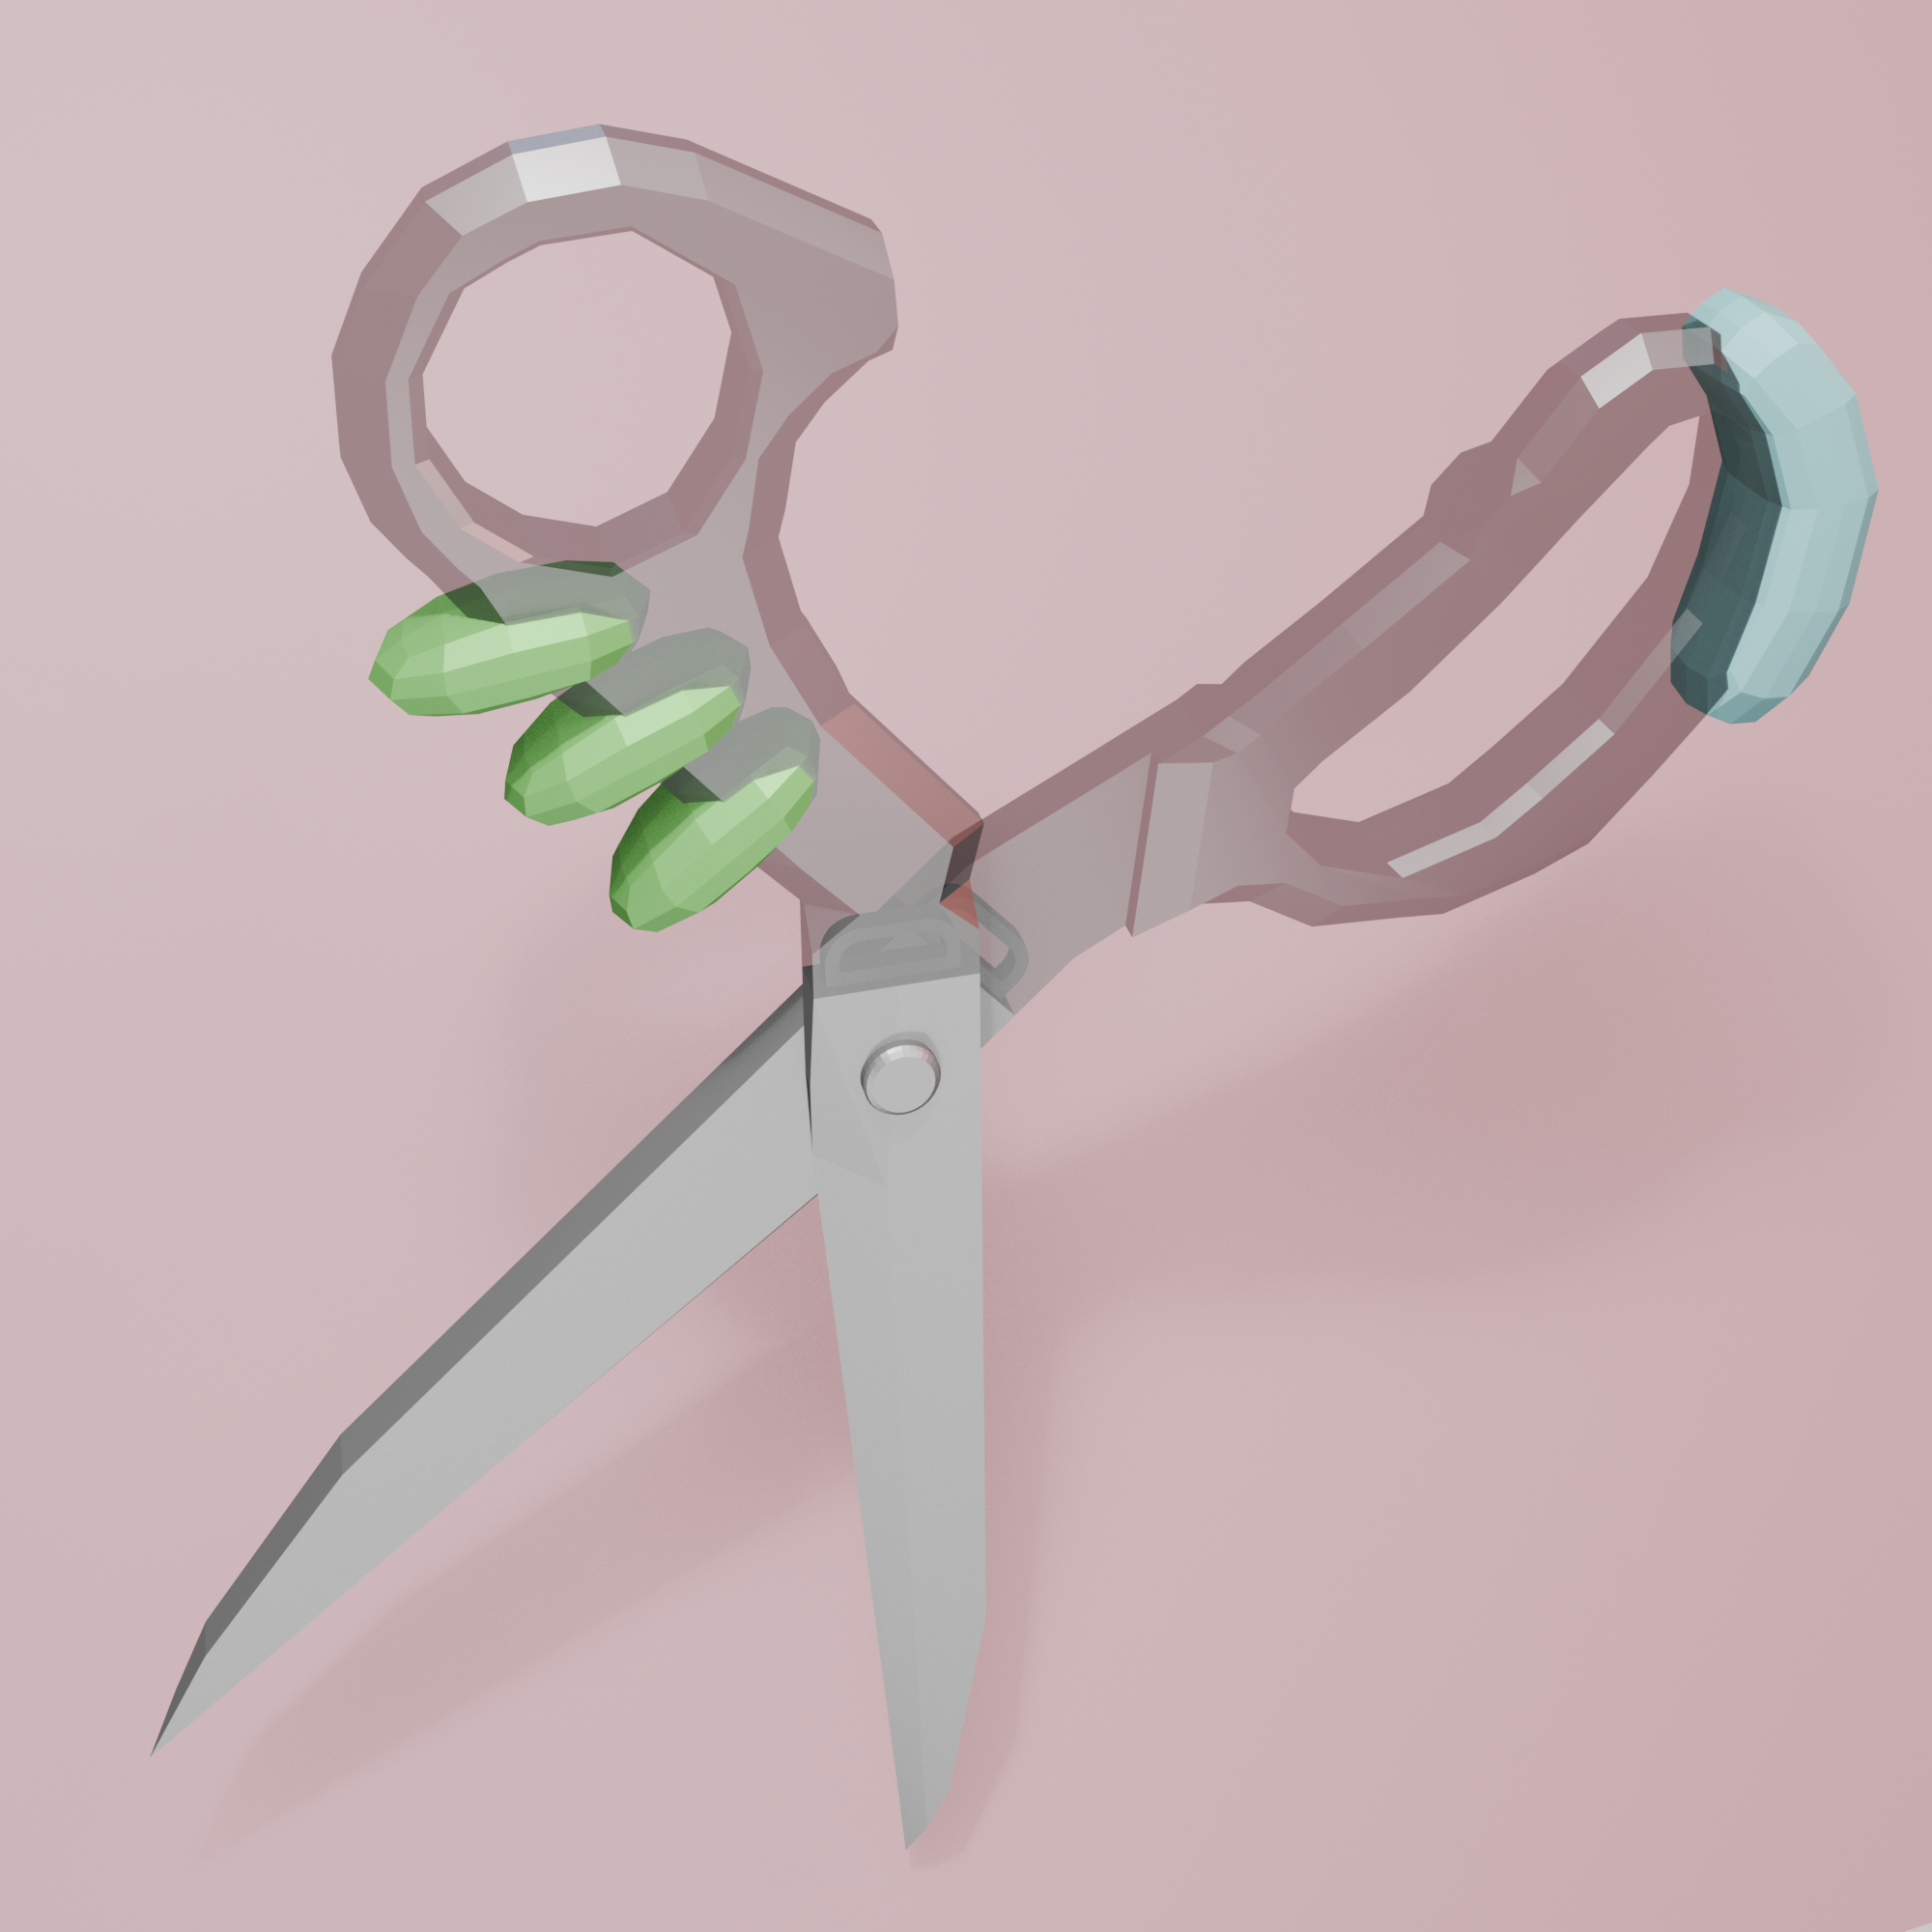
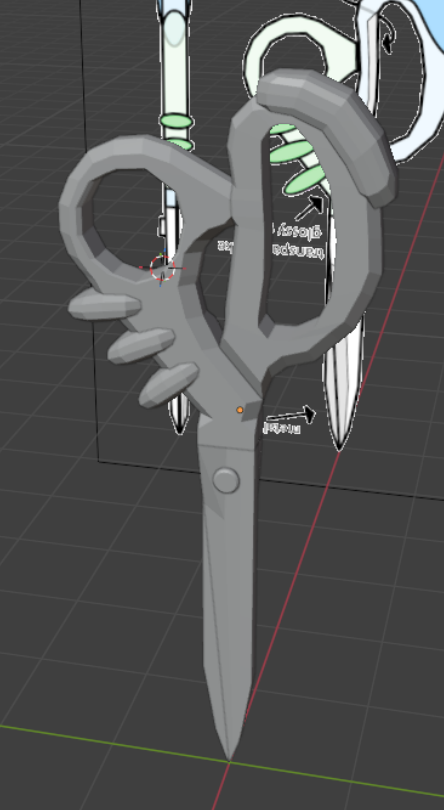
Render
Final render of the scissors